Got a bit of catching up to do here and I don’t have a lot of pictures so I’ll just get with it.
Since last update, I completed closing the right side tank by pro sealing and riveting the aft tank baffle. Right side went much like the left but I think I was a little more tidy with proseal along the skin to baffle rivet line so it didn’t squeeze out through all of the rivet holes nearly as bad. Also, I only had time to do the Z-Bracket pop rivets so I let the skin-baffle rivets set up overnight under 100% clecos and riveted the next day. That method is so much cleaner.
Now the final tasks for closing the tank are to proseal and install the fuel level sender and to install the various fittings for the fuel pick up, tank drain, etc. I did the senders first. That involves putting a thin smear of proseal on the tank’s mating surface then maneuvering the float wire and mechanism into the tank. Then slowly tightening down the 5 cap head screws to evenly squeeze the proseal for what is essentially a “cured in place” gasket.
Last item to close the tanks and get them ready for leak testing is to install the fittings. This can be counted as a lesson learned too late but it turned out ok in the end. As I was preparing to install the tank drain fitting, I noticed that about 3/4 of the hole was blocked by proseal. This would have been much easier to clear out from inside the tank before closing but it was too late for that. So I ground down a razor blade so it was very narrow so it would fit into the drain hole. I then carefully carved away the proseal while being careful to extract the pieces so they wouldn’t become FOD in the tank. It worked fine just took longer than it should have.
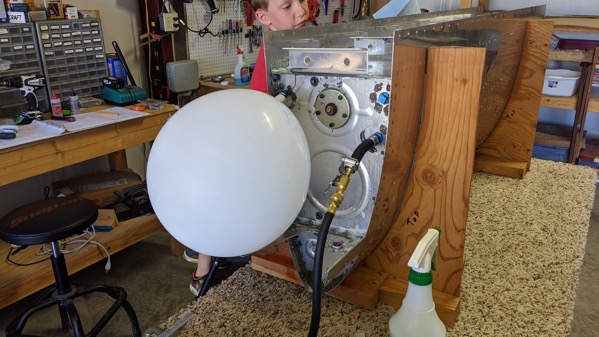
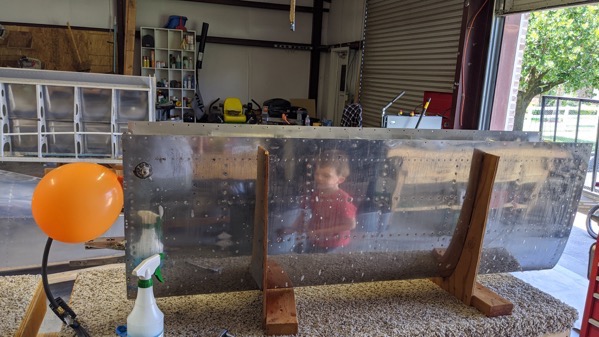
So finally, one of the days I’ve been apprehensive about since starting this build. Yesterday was time to leak test the completed tanks. The setup looks something like this, with a balloon on the fuel pickup fitting (secured with a zip tie) and a hose with a Schrader valve to allow for “pressurizing” the tank. As long as the balloon is inflated, you know that there’s positive pressure in the tank so any leak should result in air coming out, and bubbles in soapy water.

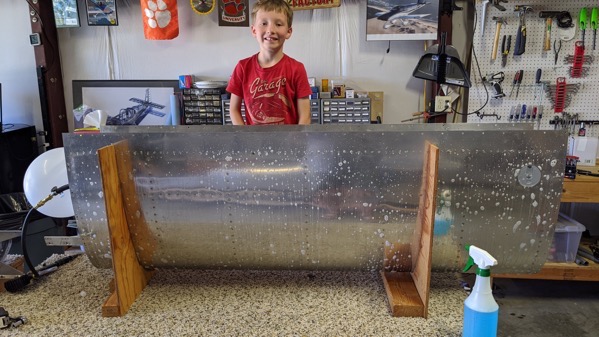
In an ideal world, the test fittings themselves wouldn’t leak so you could observe that the balloon doesn’t deflate. Bun in my case, there was a leak around the balloon itself so I simply sprayed the entire tank with soapy water to look for bubbles. I paid special attention to the troublesome areas such as the corners where three pieces of aluminum come together, the fuel sender, and everything having to do with the baffle.

In the end, the only leak I found was around the fuel cap on the right wing. The fuel caps are adjustable so I can adjust it a little tighter but in reality, that’s at the tippy top of the tank so I really doubt it will be an issue even if I didn’t.

I couldn’t be more excited to be past this milestone. I will probably perform this test once more before hanging the tanks on the wing just to be sure but at least now I know they’re not leaking like a sieve.
