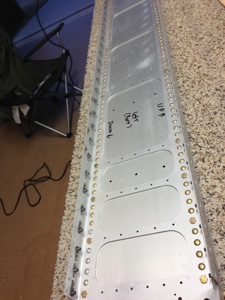
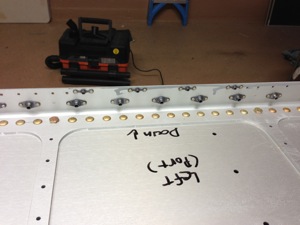
Good day’s work today going through page 11-03. I finished countersinking the left wing main spar. After countersinking all of the nut plate attach rivet holes and the skin attach rivet holes, I primed the countersunk portion of the hole by spraying primer then wiping it off of the flat part of the spar flange.
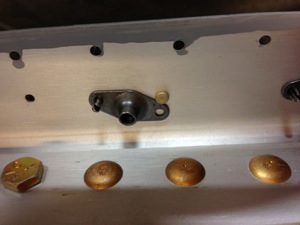
After the primer dried, it was time to install about 60 nutplates, each with 2 AN426AD rivets. The lower flange, I used the Main Squeeze hand squeezer. I had to drill out a couple of rivets, one because it didn’t set flush, and one because I wasn’t paying attention… see below…

Ultimately, they all got successfully installed.


For the upper flange, I used the pneumatic squeezer. It’s a very powerful tool and requires a good bit of focus for me. I was pleased with the results, I had to drill out two rivets that didn’t set flush but it went much faster and less muscle power.
Here’s a video of me installing nutplates, first with the hand squeezer then with the pneumatic. Then I countersink the attach screw holes deep enough to allow the dimpled 0.032 wing skin and fuel tank.
