I been watching Jason Ellis’ fantastic YouTube channel as he’s building his RV-10. He did his tanks with a different technique than I used when I did the Left side tank. So I thought I would try something new.
If you recall from my highly rated and critically acclaimed post “Fuel Tanks 4”, I used the technique of applying proseal then allowing it to set up with clecos before riveting (with more proseal) the next day.
Essentially, the difference is that Jason applied proseal then riveted while the proseal was still wet. Then allowed the proseal to set up overnight before proceeding further.
So I tried it on the inboard forward half rib.

It’s messy stuff. And here’s a view from the inside

There are gaps in the aluminum where it’s formed to create the rib flange down by the nose so you have to be sure to get those filled with proseal.
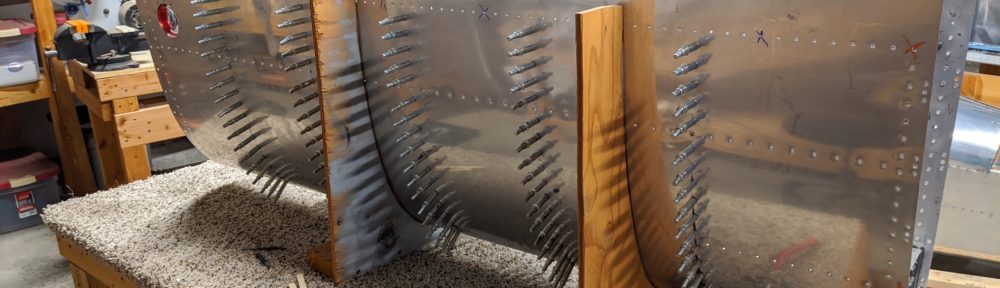
But in the end, I decided to go back to my previous technique for the remaining ribs. I just think it is a little less messy. So I applied proseal to the 5 inboard ribs and will allow them to set up overnight under 100% clecos before moving to the rivet steps.


I then used the remaining proseal to apply a fillet to the non-flange side of the ribs. I’ll worry about the flange side after riveting.

Fillet on the left and you can see pretty good consistent squeeze out on the flange side of the rib on the right.