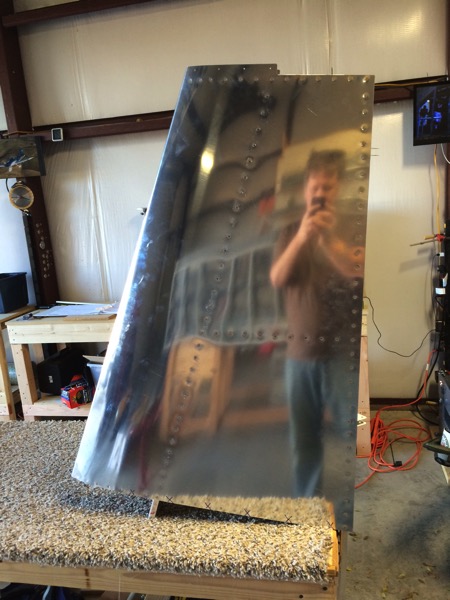
Back at it!

Well the COVID-19 shutdown has had the effect of giving me more time around the house. So I have taken the opportunity to dust off the empennage and do the last few items that I need to do prior to switching back to the tanks and wings.

IMG 20200420 192309

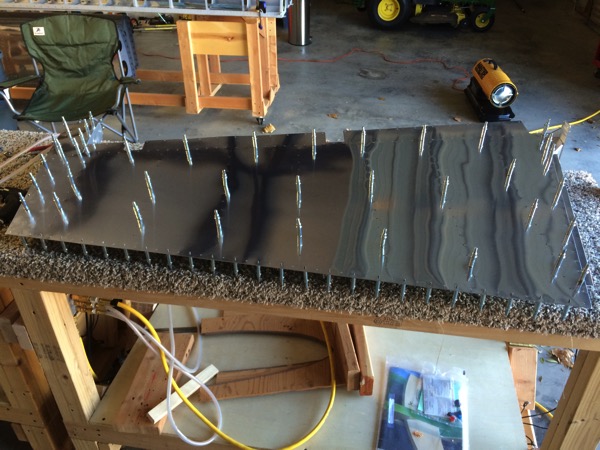
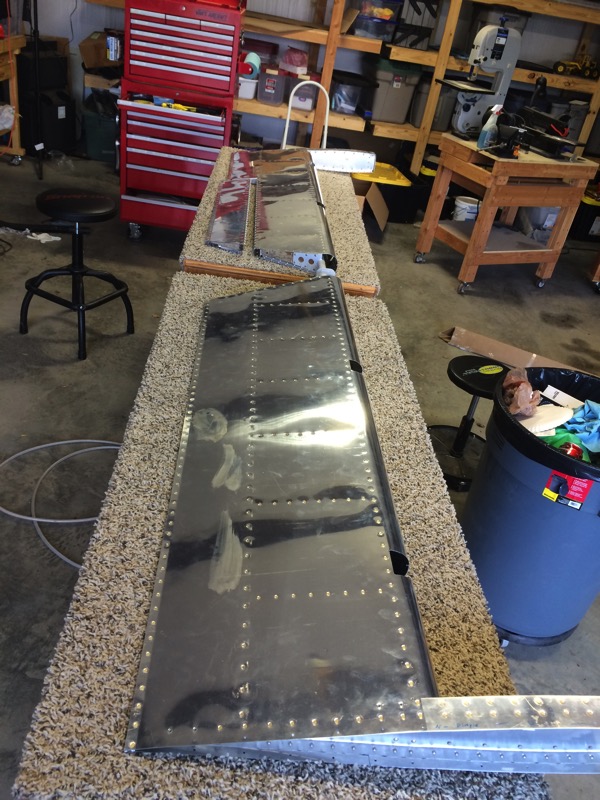
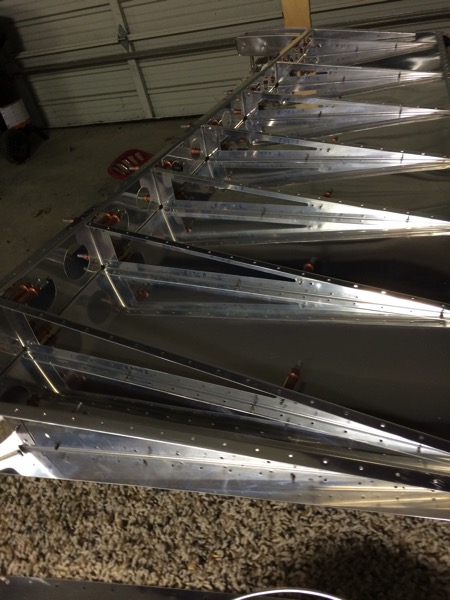
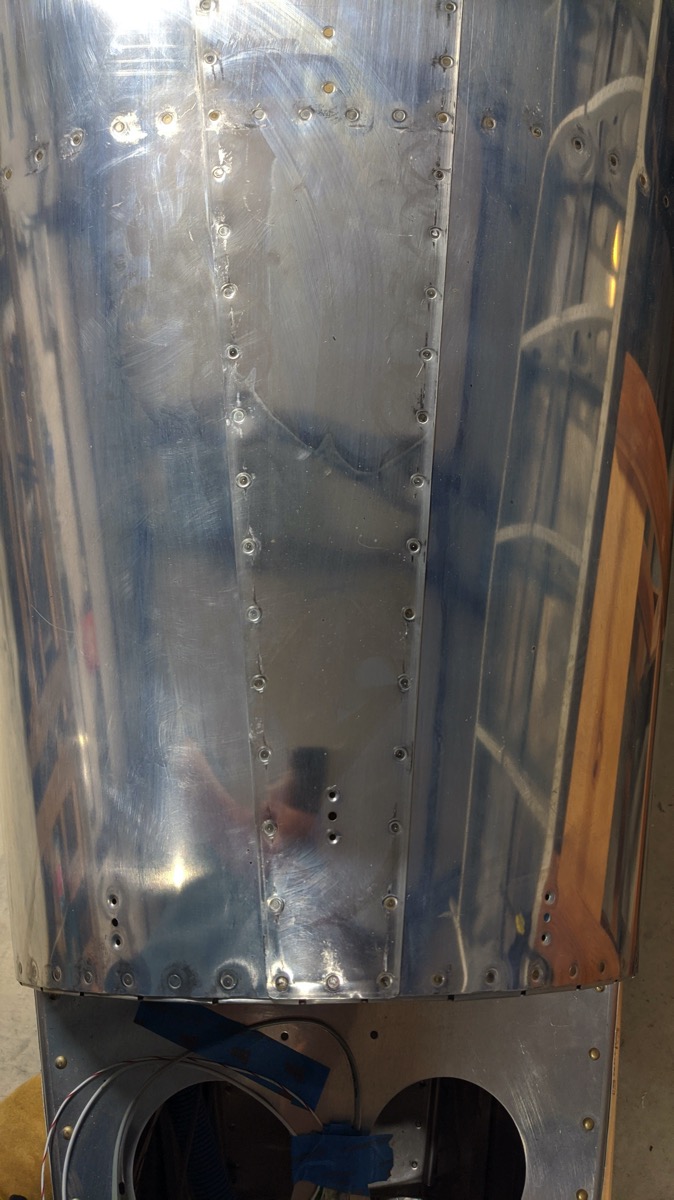
I did the aft 27 rivets on the top skin of the tailcone. That finishes up the emp skin rivets except for a couple dozen that I need a helper to get. So those will wait.

IMG 20200420 192328

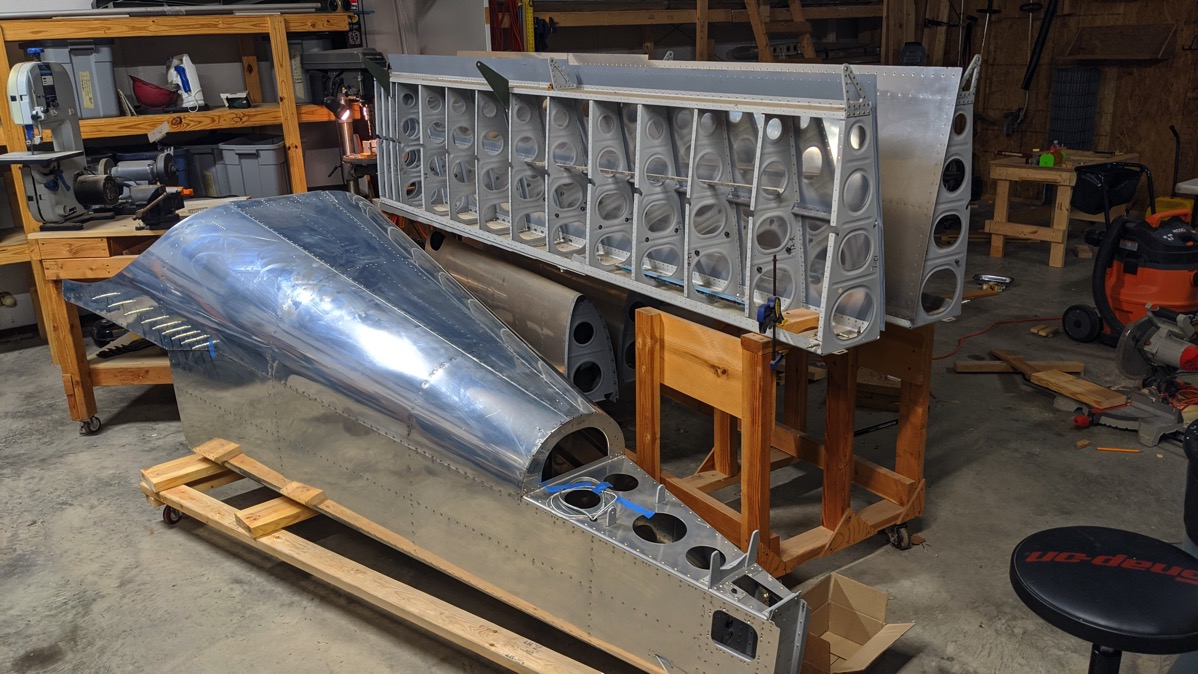
I built a little cart to hold the tail cone so I can get it off the workbench. Next step will be to buy some new Proseal, clean up the right side tank skin, and get ready to do dirty work again.

Elevator

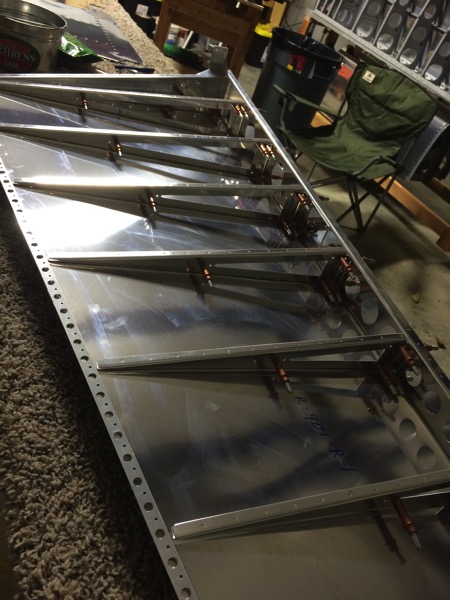
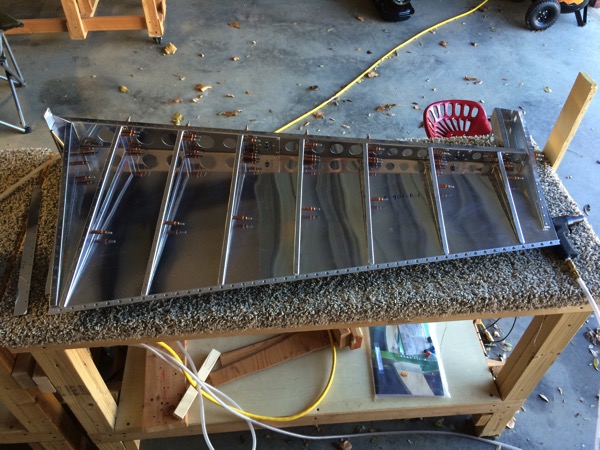
I’ve finished all of the elevator except for wiring the trim tab servo. I had to order a crimper and some Molex pins that were missing from my kit.

IMG 0057

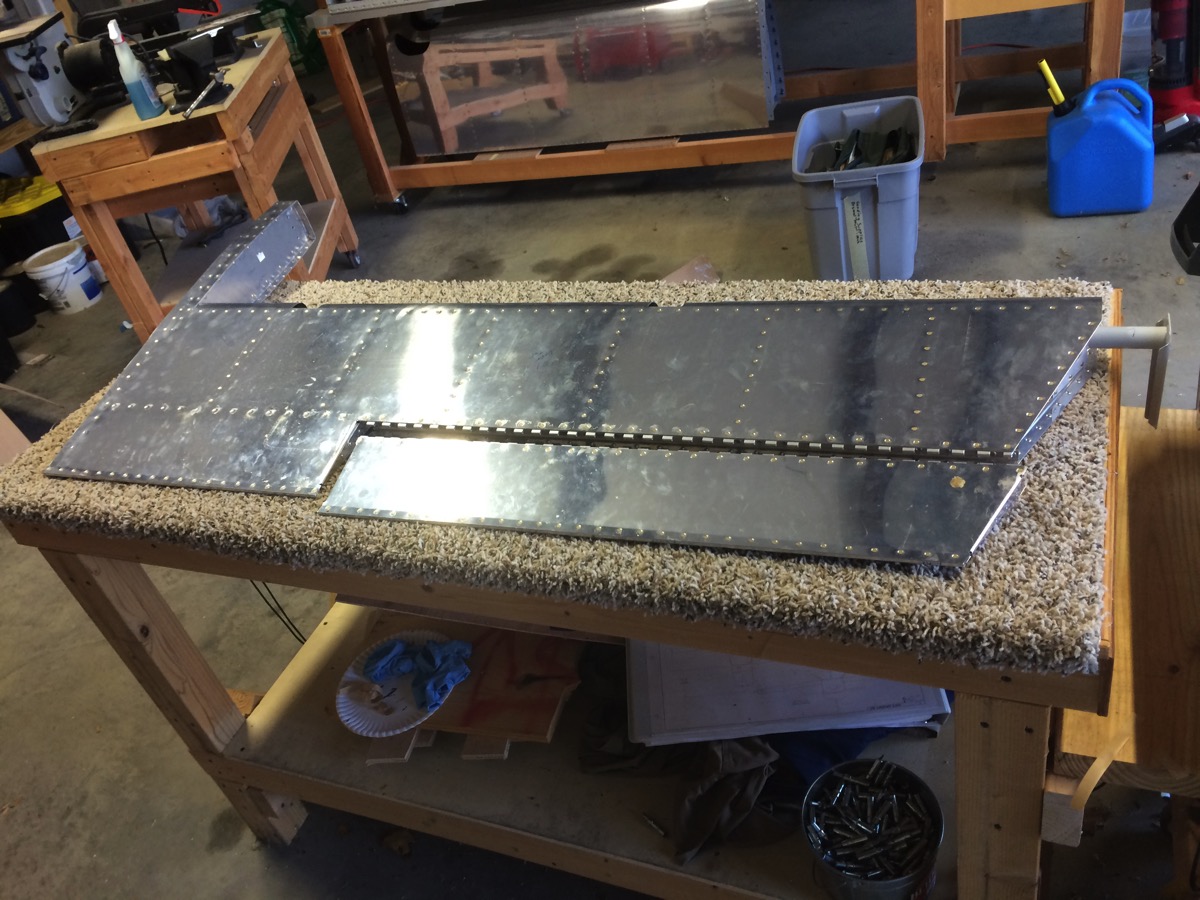
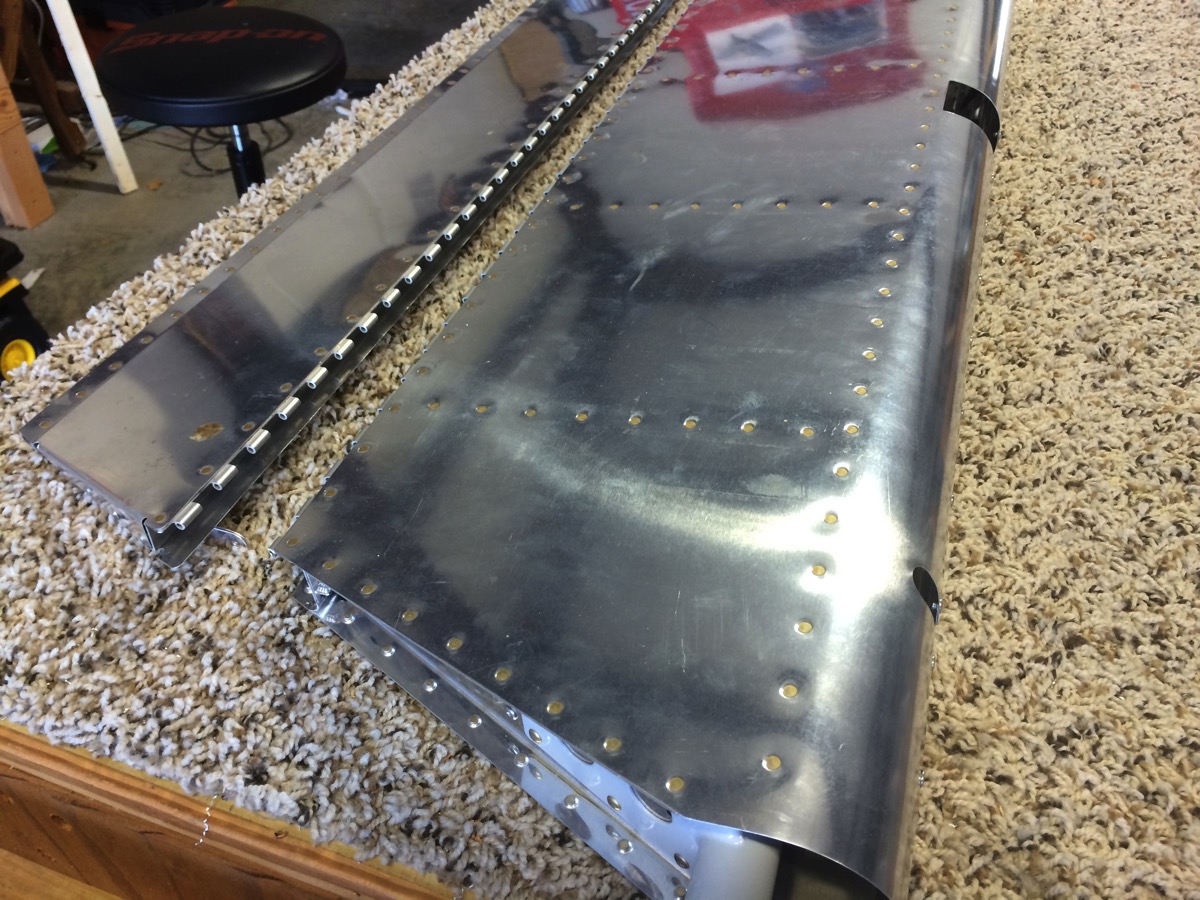
The main thing that I had to rework was the trim tab hinge. I attached both of the halves of the piano hinge as per the instructions but the half on the elevator spar was warped.
IMG 0058
I ordered replacement parts, drilled out the bad piece (about 25 rivets) and redid that hinge. This time, I kept the hinge assembled while I positioned and drilled the hinge. This kept the piece from warping.
IMG 0063

Anther thing worth noting is that I built a tool to make rolling of the leading edge easier. This idea was something I got from a post on =VAF= and is simply a closet rod with a 7/8 inch socket epoxied into the end. This lets you use a socket wrench to do the turning instead of vise grips on a broomstick. I made two: one long one with a socket on both ends, and one short one with one socket for use on the short section at the end. By my counting, this is the last rolled edge on the plane so I probably won’t use it again but it was well worth the effort to build.

IMG 0055IMG 0056

I’m Still Working on it

I know it’s been 12 months to the week since I published anything here but I am still working on the build. I’ve had to prioritize things a bit. Given much less time available to build, I’ve been spending what time I do have in the workshop instead of on the computer writing about it. I would like to pick the blogging back up so I intend to get something of a catchup post out at some point during the holidays.

In general, I’ve continued to work on the empennage kit, completed the V Stab, H Stab, Rudder and am just wrapping up work on the elevator and trim tab assembly. I will be starting the tail cone (Chapter 10) this week.

After that, I will return to the wings and finish the fuel tanks and the rest of the wing construction before biting the bullet to buy the Fuselage kit.

Rudder

Section 7 is the rudder. I started working on the rudder over this long Thanksgiving weekend and have gotten a good number of hours in. There’s a surprisingly large number of parts in the rudder assembly and the first several steps involve separating parts and deburring.

I do have one small tip when it comes to cutting the stiffeners. The plans have you draw a cut line on each stiffener then trim along the line. Below you can see the cut line on one of the stiffeners.
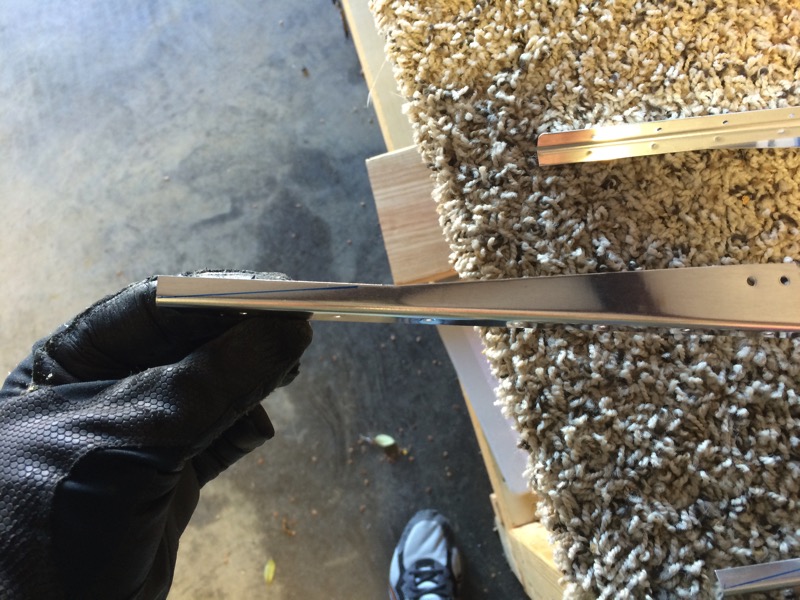
IMG 3862

I nested a 1×2 piece of scrap wood in the bend of the stiffener and carefully cut the first stiffener with the band saw. This resulted in a cut in the 1×2 that served to guide the band saw blade for each subsequent stiffener I cut. I just had to align the end of the stiffener with the end of the 1×2. Since there are Right and Left hand stiffeners, I had a cut on each side of the 1×2 that you can see below. This made quick work of what is normally a tedious job.
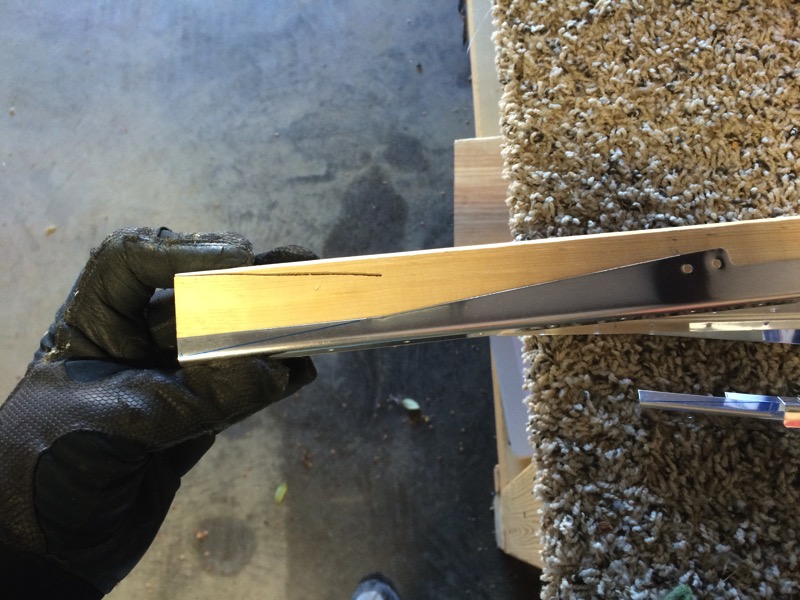
IMG 3864

After getting all of the parts cut and deburred, It’s time rivet the hinge doublers to the spar
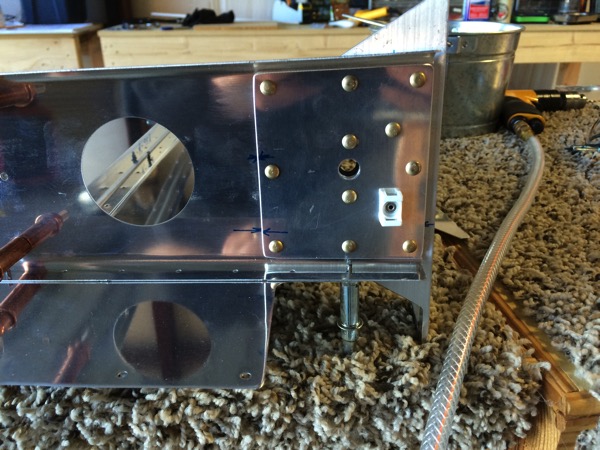
IMG 3875

and assemble the rudder skeleton and skin for some match drilling.
IMG 3877

IMG 3876

IMG 3878

IMG 3874

IMG 3873

After some match drilling, including the trailing edge, It is time to disassemble and debur everything. More on that tomorrow.
Vertical Stabilizer

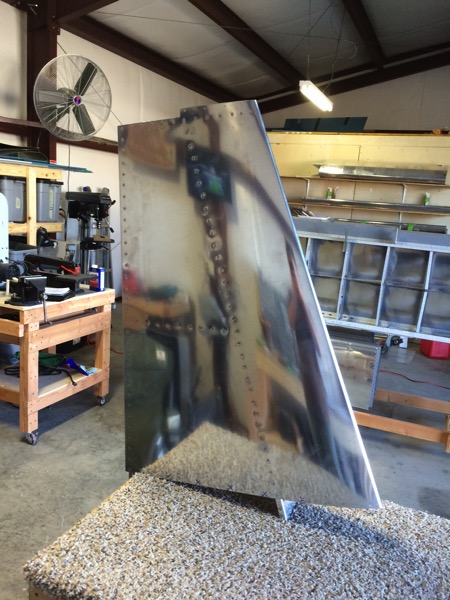
Completed the Vertical Stabilizer last weekend. It’s exciting to be working aluminum again. I opted to skip (backwards) in the plans rather than dive back into proseal and fuel tanks right off the bat. Since I have the Empenage kit I opted to get started on the vertical stabilizer. Unfortunately, I neglected to take many pictures. I guess that’s a habit to get back into also.

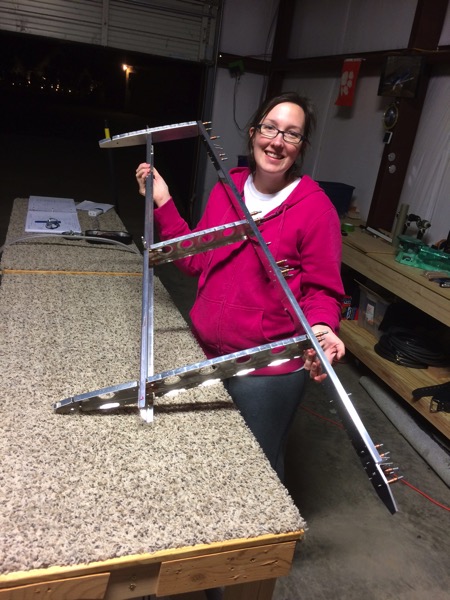
Here is Ashley holding up the clecoed stabilizer skeleton after the first day of building in over 6 months.
IMG 3833

and fast forward to the end product, the completed vertical stabilizer
IMG 3855IMG 3854

Another note to get out of the way, I have opted not to prime the pieces going forward. This is an item that receives quite a bit of debate but the bottom line is that I live in mostly arid climate and there is little real evidence that I’ve seen that shows corrosion on 2024-T3 aluminum. There are thousands of Cessna aircraft out there built in the 50’s and 60’s with 2024 that were not primed and are flying today. I started the build not knowing for sure which way I would go so I opted for the “may as well prime because I can decide not to later” approach. As I went through the build, I found how much additional time priming took so now is the time that I decide not to.

Empennage Inventory Complete

Ashley and I finished inventoring the Emp kit today. The only thing missing was 6 molex pins and a few AN470AD3-3.5 rivets. Normally I wouldn’t worry about the rivets but I don’t have any of these so I’ll ask Van’s to send them.

Here’s a picture of the unopened box. I’ll get some pictures of the stuff all stored away in the garage soon.

IMG 3122

Empennage!!!

I placed the order for the Empennage and paid the balance today. Van’s expects it to ship next week so I’ll probably be seeing it around mid January. Of course, their website says that they have a 10 week lead time…guess not! Suppose that means I need to get busy and make some room in the workshop…