DRDT Laser Sight

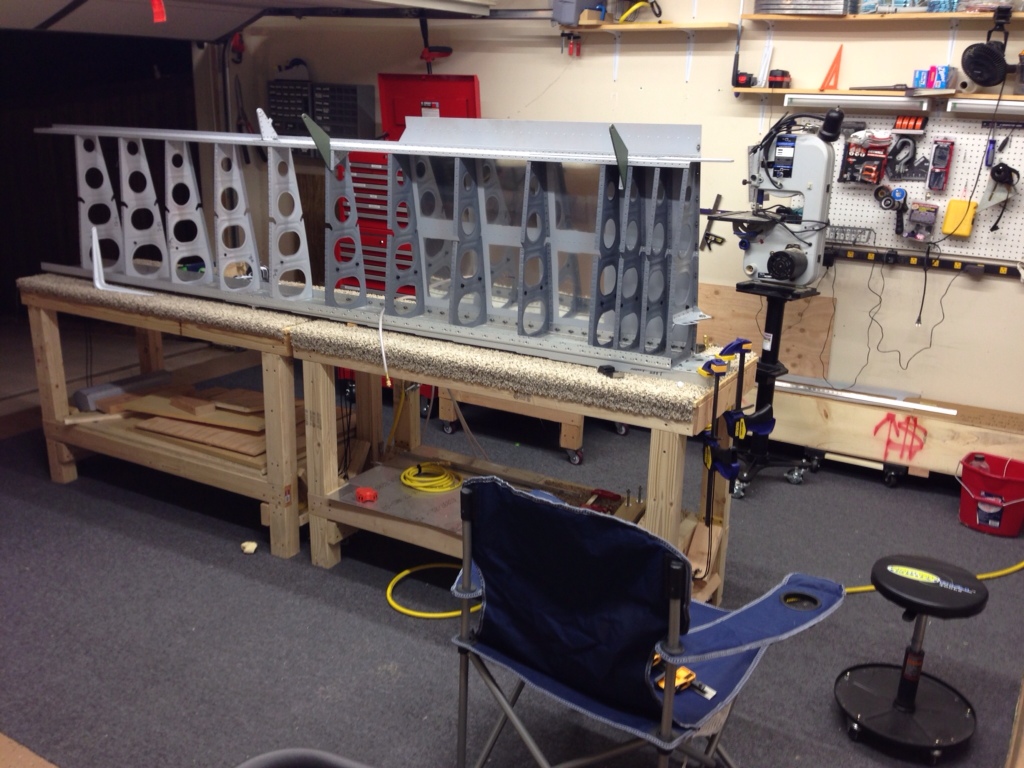
I had a small Christmas break project that may be worth reporting.

It has always driven me a bit crazy using the DRDT-2 on large pieces. I had a tendency to fish around trying to get the die to mate with the rivet hole, putting small scratches on the piece. So I decided to make a laser sight.

I think there are various ways to accomplish this task, this is what I chose:

Step 1: Acquire Laser. In this case, a Drill Press laser sight from Amazon for $40.

Screen Shot 2016 01 01 at 3 40 12 PM

Step 2: Epoxy rare earth magnets to the case of the laser. I used rare earth because they’re thinner. This thing already sticks down into the neck space of the DRDT enough.

IMG 0398

Step 3: Attach the laser to the DRDT and adjust. The laser is fully adjustable but I think the easiest thing to do is get it roughly adjusted then just move it around slightly until the X hits the dimple die.

IMG 0399

As I said above, it does stick down into the open neck of the DRDT a little, maybe an inch or so. It may not be usable for anything other than large flat pieces but if I want to remove it, I’ll just take it off and the magnets will stick it to the top of the DRDT where I store some Dies, etc.

After I ordered the laser sight, I saw something online that gave me another idea for a solution that may be better. You could just use a regular office laser pointer with a magnetic helping hand (the kind they use in electronics and stuff to help solder). The only trick there would be devising something to keep the button pushed but I’m sure something could be worked out. That would have the advantage of not sticking down into the free space. And since the die doesn’t move up or down, a single laser dot would do the job just fine.

I’ve got some big skins to dimple this weekend so I’ll report back how it does.

Move complete and new workshop ready

Well, It’s been quite a while since I’ve made an forward progress on airplane building. Here is a big part of the reason. Ashley and I decided to sell our house and move to the Burleson area. We wanted a place large enough for a little boy to run around and get into trouble without having to cross city streets. I, of course, also wanted larger workshop space.

So……
IMG 3282

30×40 workshop / Airplane factory
IMG 3381

and, after a ton of help from Dad and a successful move…
IMG 3660

Since I can’t hang stuff on the walls here very easily, I had some fixtures to build. So that took a good bit of time but now I’ve got a great deal of storage and workbench space and I’m ready to start working aluminum again.

A/C in the Workshop!!!

I ordered a portable standalone air conditioner from amazon. The heat of a Texas summer combined with my west facing garage door meant that something had to be done to allow me to work for the next few months. I built a footer board that the garage door can rest on and allows the inlet and outlet air for the compressor while keeping at lest some of the hot air outside. I also fabricated a seal flap for the top of the garage door out of the foil bubble wrap stuff from Lowes.
IMG 2745
So far, I’m generally pleased. It kept the garage at around 85 degrees today between 3:00 and 6:00 (although this wasn’t the hottest day) then quickly brought it down to below 80 once the sun went down. It also lowers the humidity a great deal. I never expected it to be 70 or anything like that but I think it makes it workable in the garage during the afternoons. I will update what I think of it after a few 100+ degree days.

Re-arranging the workshop

I think I’ve done all I can do riveting the wing skins on until Dad comes down in a few weeks to help with riveting. I thought it would be a good time to build a wing cradle and rearrange the garage a little bit. So I stole Tim Olson’s wing cradle design and spent the weekend building one.
IMG 2427

Next I rearranged the garage a little to put the cradle up against the wall and give a bit more workable workspace. I’ll probably need to put the workbenches back together again when Dad comes down to rivet top skins but I’ll deal with that then.
IMG 2431

Workshop Improvements

Not a whole lot of progress on the wing this week because I had the workshop out of commission for electrical and flooring improvements. An electrician came out on Friday and ran 220 for the air compressor, 110 for overhead fluorescent lights, and another 110 circuit for shop equipment. We moved the wing to the spare bedroom to be out of the way of the electrician so while I was at it, I took the opportunity to lay carpet and padding on the workshop side of the garage. I know this is a little non traditional for a workshop but it was an economic way to add some anti-fatigue padding to the floor. We'll see how it works.

As far as the plane goes, I did get about half of the rivets in on the W-00002 inboard wing skin. I can't reach any more without a helper to hold the bucking bar so I'm going to set the left wing aside and start on the right.


Back to working on the workshop

With the inventory complete, we turned back towards getting the workshop ready. Task for today is lighting. I ultimately need to get an electrician out to run some more power and a dedicated circuit for the air compressor. In the interim however, I hung an 8 foot florescent fixture that I’ll plug into an outlet. IMG 2251
Ashley and I got the fixture hung and wired to power but only 2 of the 4 bulbs lit. It was time for dinner so I decided to call it an evening and consult the internet for wiring advice. It appears that the grey and red wire needs to be wired into the white power input…who knew… We’ll take care of that tomorrow.

A few more things remain to be done before I can really start working on the wing. My goal is to have everything ready so I can get going by Christmas Eve.

  • Afore mentioned lighting complete
  • Carpet on the workbenches
  • Storage solution for the wing tips and wing skins

Preparations Are Underway!

Ashley here! I have the privilege of helping to document our building process – so here is my very first attempt at blogging!! We have officially begun the task of turning our garage from a parking place for our cars, to a workshop and home for our airplane! KC found a fantastic deal on a new air compressor and we rented a U-Haul van to pick it up, along with lumber to build our work benches and a new tool box to hold all of our fancy new airplane building tools. The tools arrived today!

IMG 2111

IMG 2170

I have to say that it feels a little bit like buying and organizing school supplies at the beginning of the year, which is very exciting for me!

IMG 2123

And of course the boys were there to help!

IMG 2124