Spent a couple of sessions this week working on the right fuel tank. Attached the outboard tank rib, sealed up all of the rivets for each of the ribs. Made sure there is a good bead along each edge and ensured that all of the vent openings and the stiffener channel is free of proseal. That stuff is nasty.
Next up is the top skin J-stiffener. It’s a bit of a mess to do because you have to apply proseal then try to work it through the small channel opening all the way into the tank. I took the approach of applying a relatively thin coat of proseal to the stiffener before inserting, then after I got it in the channel, I pulled the stiffener away from the skin as best I could and used the sealant gun to squirt more sealant in-between. Worked good I think. I 100% clecoed and observed good squeeze out along the stiffener. I let it set over night and riveted it the next day
Next up was the tank attach bracket and the inboard aft rib. Both pretty straight forward. Proseal, 100% cleo and I went ahead and riveted these wet. Only hiccup was that I put two rivets in a spot on the tank attach bracket that I should have waited because it also had to go through a tab in the inboard aft rib. So after removing those rivets, I got the inboard aft rib in place and riveted it.
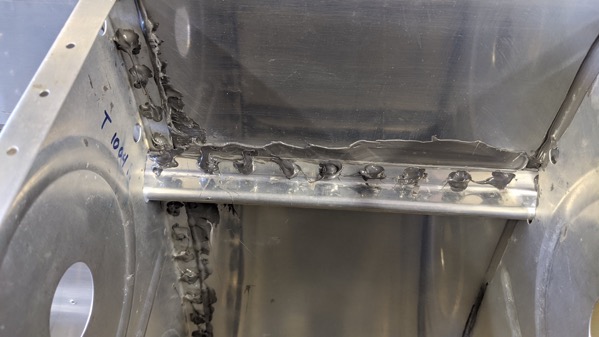
The J-stiffener with proseal on the rivet shop heads.
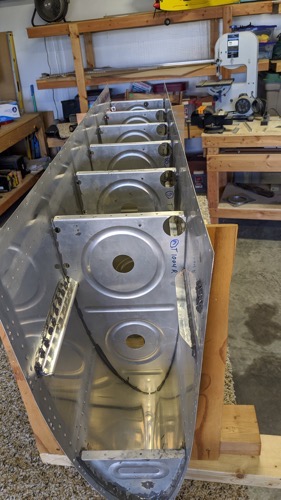
The tank with all but the attach bracket and the inboard aft rib and the aft bulkhead.
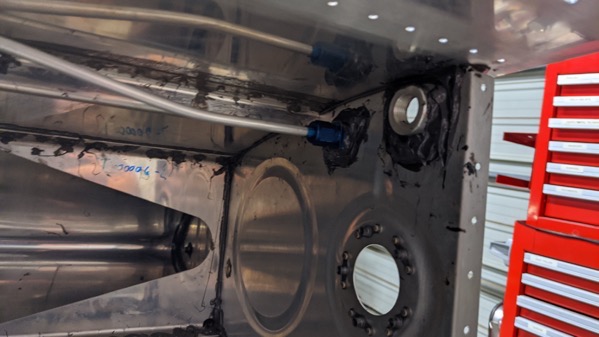
Tank vent line installed
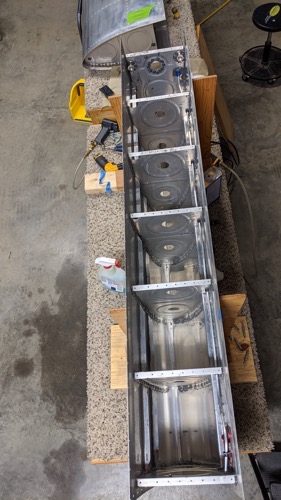
Getting closer
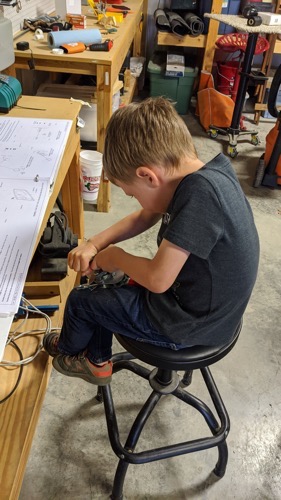
Grayson using a scrap piece of the 1/4 inch aluminum tubing to learn how to form a proper flared end. These are the (short little) times that I dreamed about when I found out we were having our first baby the same month I started this build.

