Section 14 – Top Wing Skins

After completing the right wing skin, we moved it over to the wing cradle and got to work on the left wing.

IMG 2567

The left wing went much faster than the right did because we had a pretty good rhythm down.

IMG 2569
IMG 2570
IMG 2571

Here’s a time lapse of our weekend’s worth of work

Section 14 – Top Skin

Dad is in town and we’ve had a good couple of days working on the right wing. First we finished riveting the inboard top skin to the ribs and spar. The we dimpled the outboard top skin and riveted it as well. We estimate that we drove about 600 rivets over the past two days.
RV-14 Right Wing

Below you can see the J-Channel box stiffeners inserted in the ribs and riveted to the wing skin.
IMG 2557

Here is the outboard aileron bracket riveted to the outboard rib and aft spar.
IMG 2556

And here’s a time lapse video of our work today:

Section 15 – Outboard Leading Edge

Now that I’ve got some workbench space again I started working on the leading edge. First step was to cut a couple of cradle V-blocks out of plywood to hold the leading edge skins while riveting.

Next it’s time to work on ribs again. So back to the same routine as earlier: drill holes to final size, debur both sides of the hole, debur the edges as well as the lightening holes, straighten the flanges so they’re 90 degrees to the rib web, then flute the rib flanges so the rib is straight. That took about 8 hours over Friday, and Saturday.
IMG 2420IMG 2421

I snuck out for a few hours on Easter Sunday and worked on polishing the nose portion of the ribs on the scothchbrite wheel so that the bent tabs are more rounded than faceted. Then I started dimpling. Here’s Ashley doing a bit of dimpling on the DRDT-2. More dimpling later.
IMG 2424

Section 14 – Top Skin

My friend Rick came over on Saturday and we got started riveting the inboard top skin on the right wing. We got 3 rows done.
RV-14 wing skin

After Rick left I finished with the wing root nutplates and clecoed the outboard skin to the wing for safe keeping. I think it will stay there until I get some more riveting help show up.

Section 14 – Top Skins

Ashley and I had started on the wing walk doublers this week. This morning I got them finished and the top skins countersunk at the wing walk. Then I dimpled the skin and got it primed along the joint lines. I’m going to do the same as the left wing on this one, only prime the joint lines but this time I’m using the Napa 7220 grey primer instead ov the SEM. $6 per can instead of $20.
IMG 2397

Freshly dimpled skin ready for rivets…tomorrow
IMG 2399

And a short time lapse of me dimpling

Section 13 – Rear Spar

Ashley visited friends in Houston for the weekend of March 8-10 so I had a good bit of time to work on the plane. I finished getting the aileron and flap brackets prepared and assembled.
IMG 2391

Then I got the rear spar prepared and riveted to the wing.
IMG 2392
IMG 2390

THen last night, Ashley and I got the right wing skins and wing walk doublers out of storage and started preparing them. More pictures on that later.

Section 11 and 12 – Right Wing Spar and Ribs

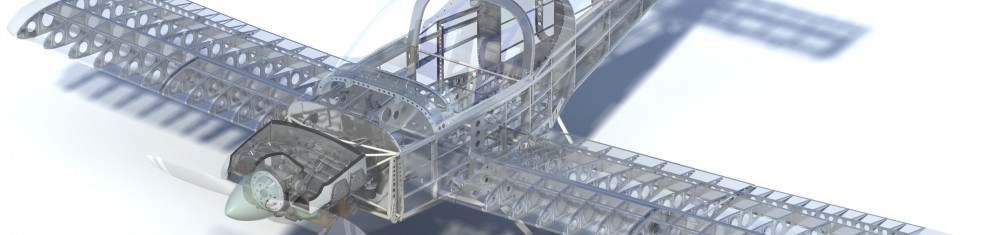
Ok, I’m guilt of not updating here for a while. I have been working but since I’ve moved on to the right wing, I don’t feel like I’m plowing any new ground here, just redoing what I’ve already done once on the left.

I ordered a new countersink cutter since the original one was cutting oblong holes. I assume it was dulled from all of the countersinks on the left side. While I was at it, I went ahead and got a couple of different styles to see if I could keep it from chattering as much. I got the traditional 3-blade cutter from Avery Tools and also a 1-blade cutter from Cleveland tools. I like the 1 blade cutter a lot but it’s pretty agreesive…gotta be a bit careful.

After getting the new cutter, I finished countersinking the bottom holes on the spar and riveted all of the nutplates. Next, I got the right side ribs prepared, primed, bolted, and riveted to the wing.
IMG 2379

That brings me to tonight where I spent about 1.5 hours getting the aileron bracket plates prepared and primed. I’ll rivet tomorrow.

Section 11 – Right Wing Spar

I worked myself into a corner where I needed a riveting partner to continue riveting the top skins to the left wing so I decided it is time to set the left wing aside and catch up the right.

Thanks to my very understanding wife, the left wing is safely stored in the spare bedroom closet.


On the right wing, I got the J-channels drilled, flange holes final drilled, and the top flange countersinks done.


Section 14 – Top Skins

I finished up dimpling the top skins today and got the rivet lines primed. I cut a slot in a scrap piece of cardboard to paint the rivet lines in the skin and make it look at least a little bit better than free hand.
IMG 2301

I also primed the wing walk doublers on both sides
IMG 2304


Section 14 – Top Skin

Yesterday I continued working on the inboard and outboard top skins for the left wing. I removed a small amount of material from about 1″ of the forward corner of the inboard and outboard skins where they overlap to help them lay flat. Then after complete deburring, it’s time to dimple.
IMG 2298
I got the top inboard skin dimpled. For the most part, I used the Cleveland spring-back dimple dies in the DRDT-2 but on the holes along the forward edge, I used the smaller Avery die so it wouldn’t flatten the slight bend.

I also added a new fixture to the workshop.
IMG 2299
I built the DRDT-2 table expecting to use it in conjunction with the main workbenches. But of course, they are occupied holding the wing so I need something to support skins while dimpling. I purchased a bench grinder stand from Harbor Freight and added castors. I think it was $40. I then attached a piece of the 3/8 plywood (shipping crate top) and carpet and it is a handy movable surface for supporting the skins. I couldn’t have built anything any cheaper and this will also be useful holding the grinder or band saw.